“Ionic4 Starter App” Documentation by “RCAP DESIGNS” v1.0
“Ionic4 Starter App”
Created: 21/06/2019
By: RCAP DESIGNS
Email: contactatracp@gmail.com
Thank you for purchasing my theme. If you have any questions that are beyond the scope of this help file, please feel free to email via my user page contact form here. Thanks so much!
Table of Contents
A) Folder Structure - top
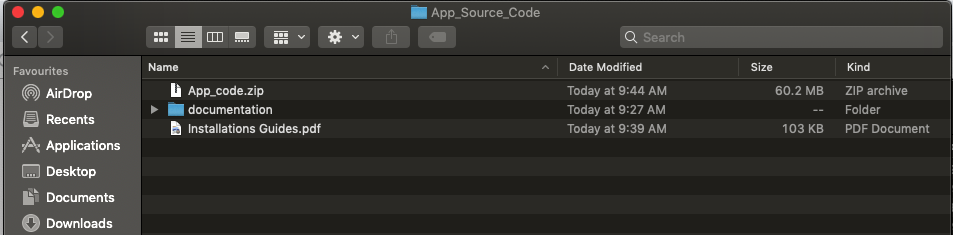
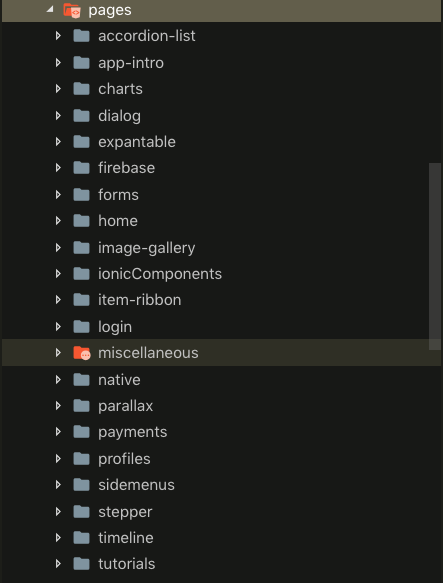
Once You Download the Product You will Receive the Zip File which contains Project Zip. Named as App_Source_Code.zip
Unzip the App_Source_Code.Zip File And You Will Find The Zip File Of All The Projects Like in ScreenShot:
Steps :
1 :
Open the Installations Guides.pdf File for Installations and Setup Instructions.
Note If you wish to Use whole project instead of the Some Content of Project then you can Directly use it as Shown in Installations Guides.pdf file
Example
2 :
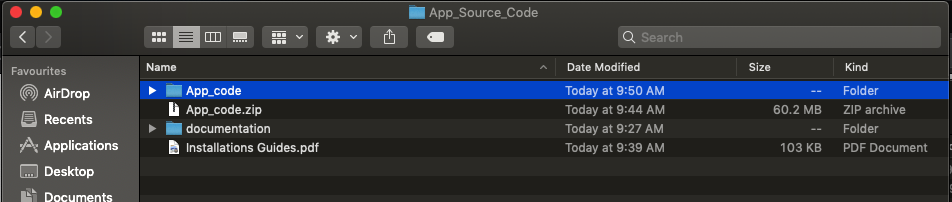
When you unzip the App_code.zip then You will have the Project Source Code
You will find the Folder name as App_code
2.1) Now Open Terminal for Mac or Command Prompt for Windows and Open food_update Folder Inside terminal.
2.2) Now Follow the Instructions in Installations Guides.pdf file for further Installations Steps.
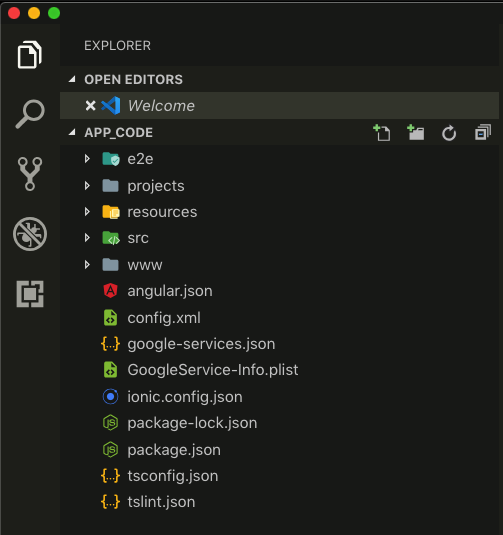
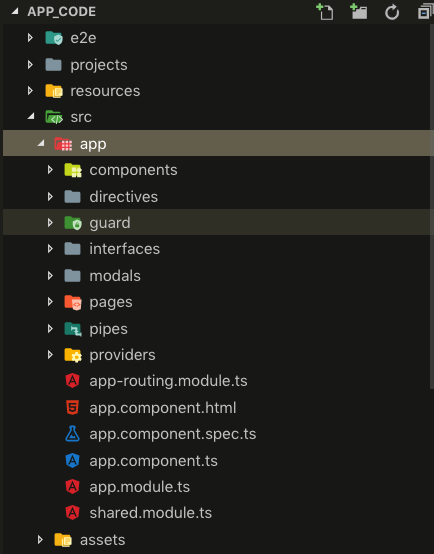
2.3) Now Open the App_code folder inside your Code Editor Like Visula Studio code ,sublime etc. you will see the structure of Ionic Projects
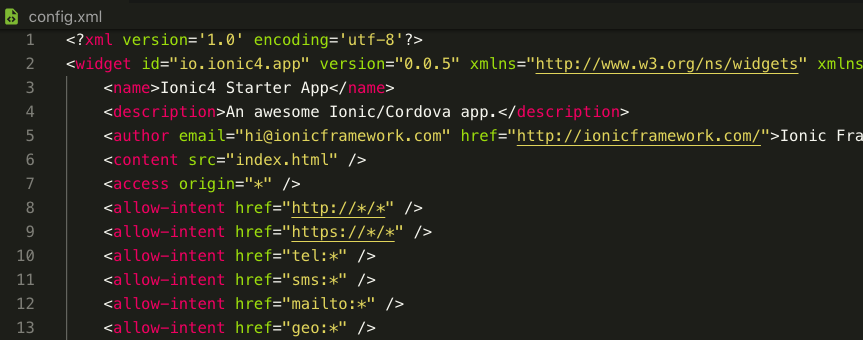
2.4) Now Open the config.xml file and Change the Name and Other Stuff like app version and app package name.
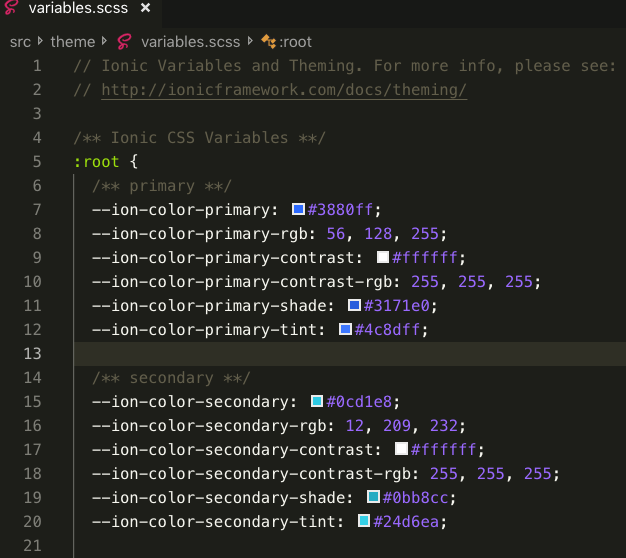
2.5) Next if you want to change the Theme Color of Your Application. you can do it from your self by changing the color code of this file. open src/app/theme/variables.scss file and you can find the rest of the code like in image you can change color of primary as your default app color
Note: color should be in hex format only.
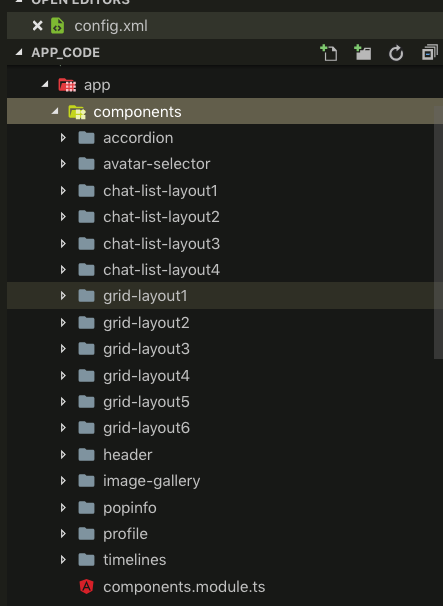
2.6) Now to use rest of the Screens and Config you can find in app folder and pages,components, folders
B) Page Structure - top
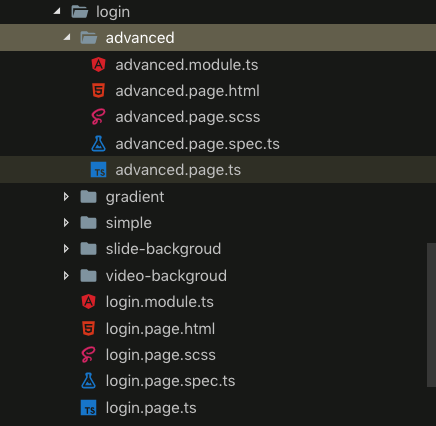
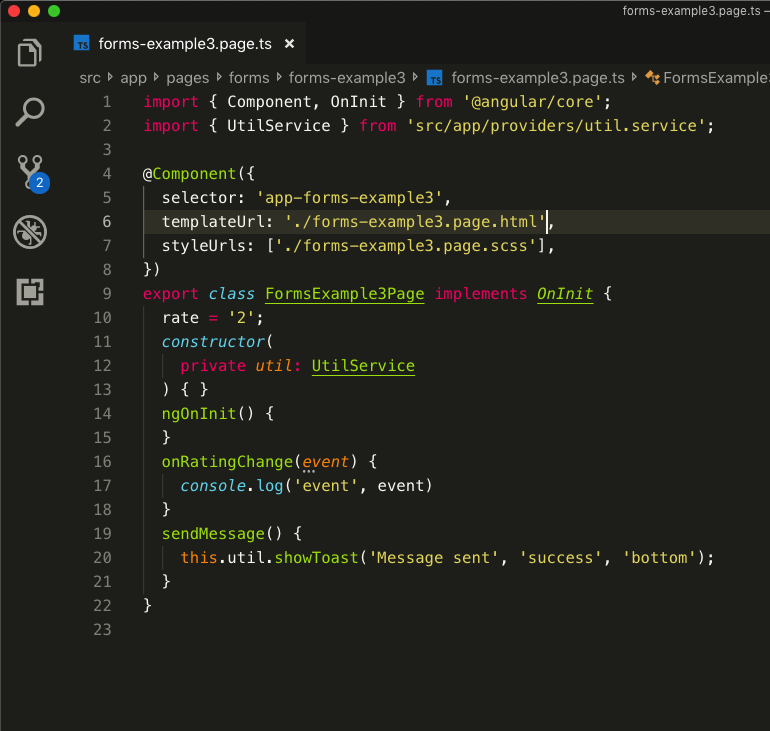
Ionic 4 has Made the Structure of Pages beautifully. with separation of designs and Business Logic. as you can see in Image.
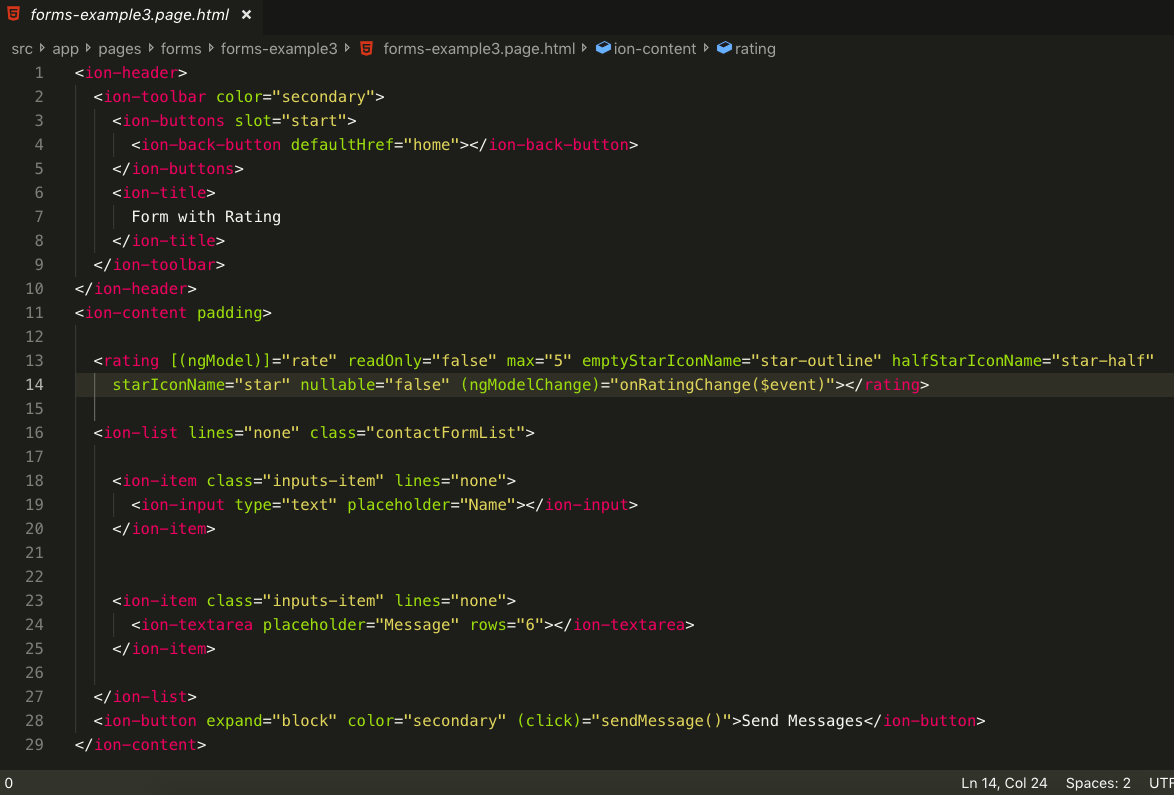
For FrontEnd designs you Can Edit the Code inside .html File and The css you can edit or add inside .scss file.
Ionic 4 use Html as FrontEnd designs which is Easy to Develop. you can find The Component of Ionic From here
You can see the Structure of Html from in Image
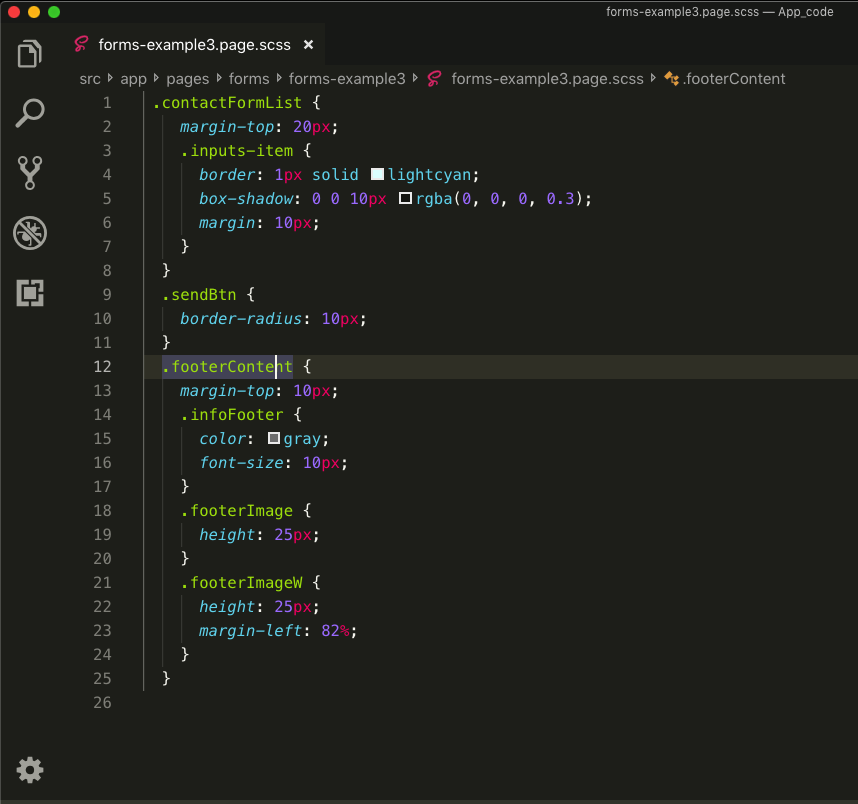
Ionic 4 use scss as StyleSheet !, the scss is same as css.
Ionic 4 use Typescript as Business Login Development you can write your login inside the .ts file.
C) Use In Existing Project - top
If you wish to use the Code Snippet or Pages inside your existing project you can do it which is very easy.
To use the Pages of our Product inside your existing project, you just have to copy the page you wish to use inside your project and just paste it into your projects pages folder.
Note : The Pages which is Used in our Product is Lazy Loaded . means no required to register in app.module.ts file.
If you want to use the Component inside your existing pages make sure you have copied both html and scss snippets properly. and also make sure if pages have component binded then add the components in your components Folder and register it within your pages module ts file.
Example
If you want to use Some code snippets in your Existing Project
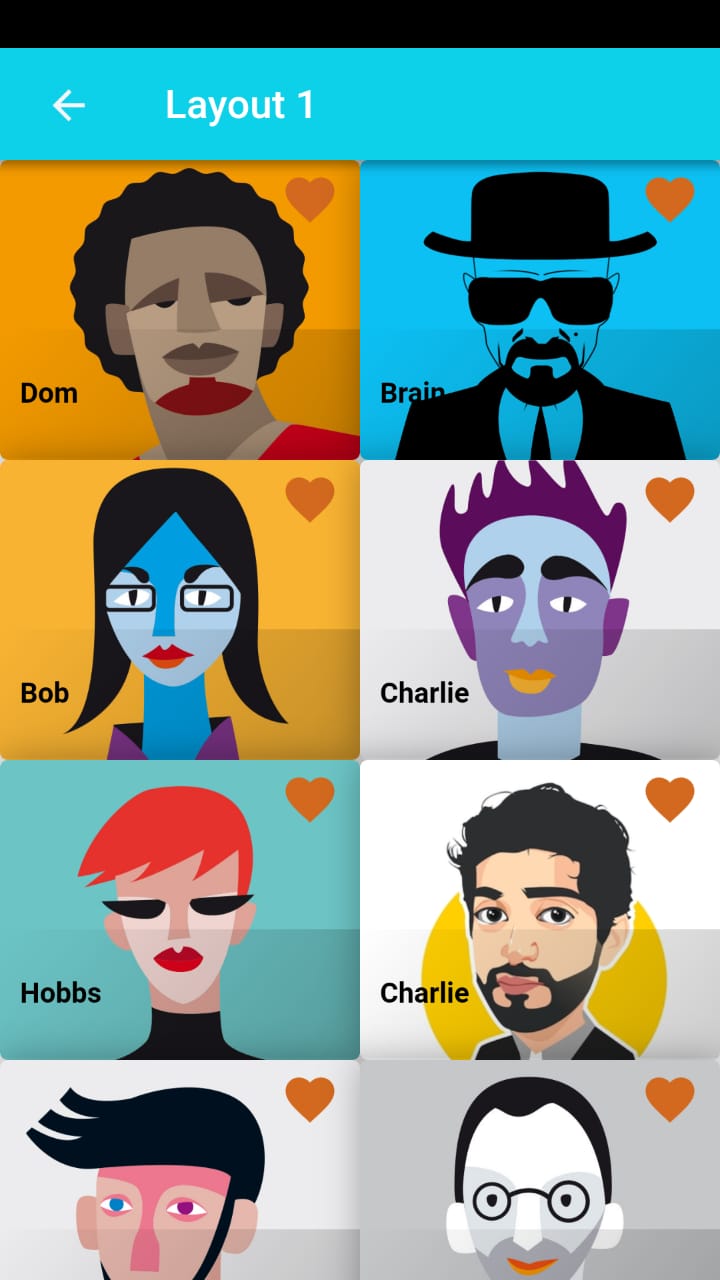
Let's Take One Exmaple, if You wanted to create Page like this Image.
Steps
Step 1:
Go to The App_code project folder and then go to src/app/pages/image-gallery/gallery-layout1 page
Now Open gallery-layout1.html and if you notice their what we have is Component inside page, as you can see in Image. now copy this code and paste it into your custom pages html file.
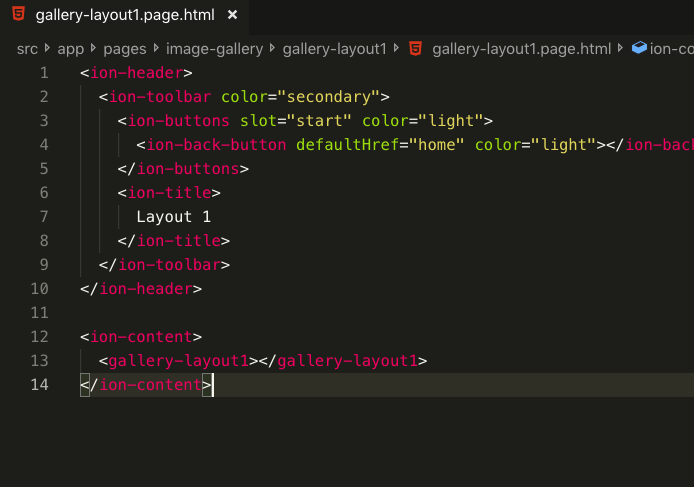
Here 'gallery-layout1' is component as we said . you have to Create Component for This part
To do this Just Write Command in Terminal inside your Project Main Directory
$ ionic g component components/gallery-layout1
And Hit Enter You will have new components with name gallery-layout1 inside src/app/components/gallery-layout1
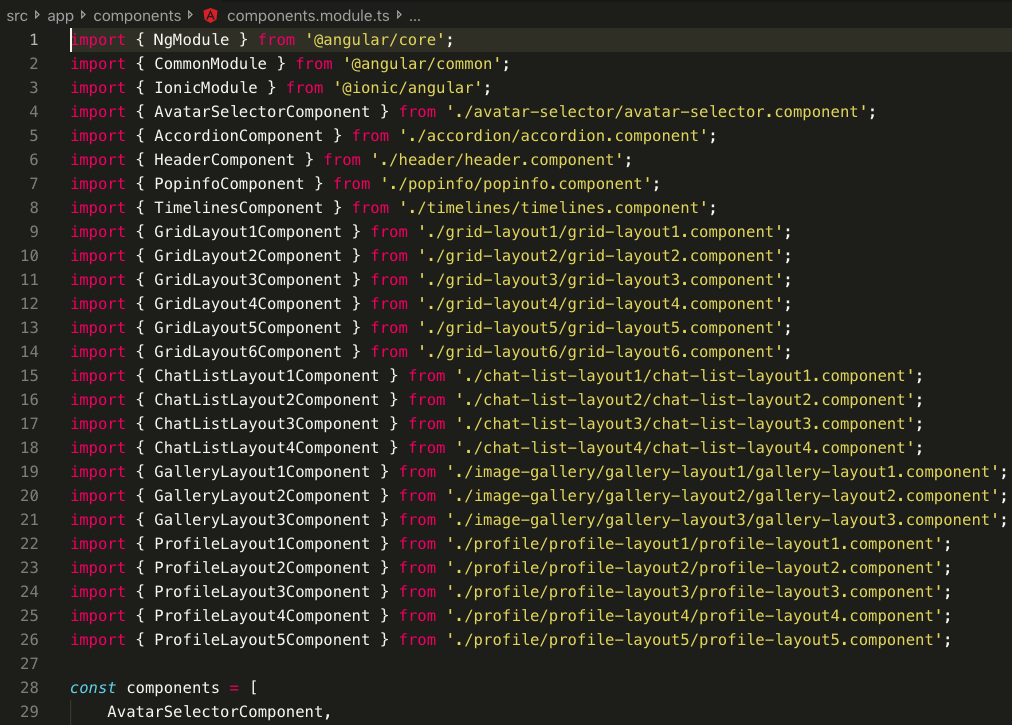
Now Inside Our Code Copy the Same code from src/app/components/gallery-layout1src/app/components/gallery-layout1 html and scss and Paste inside your new Component Make sure you have components.module.ts inside Components folder like in Image and Source code.
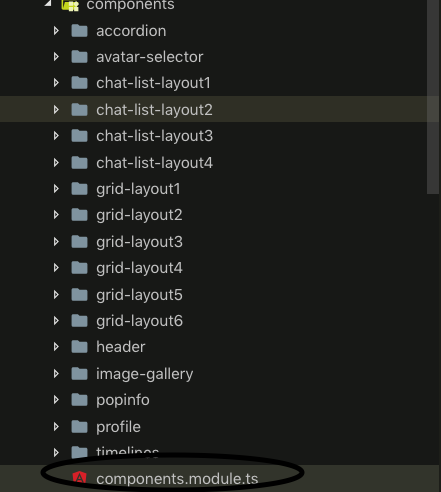
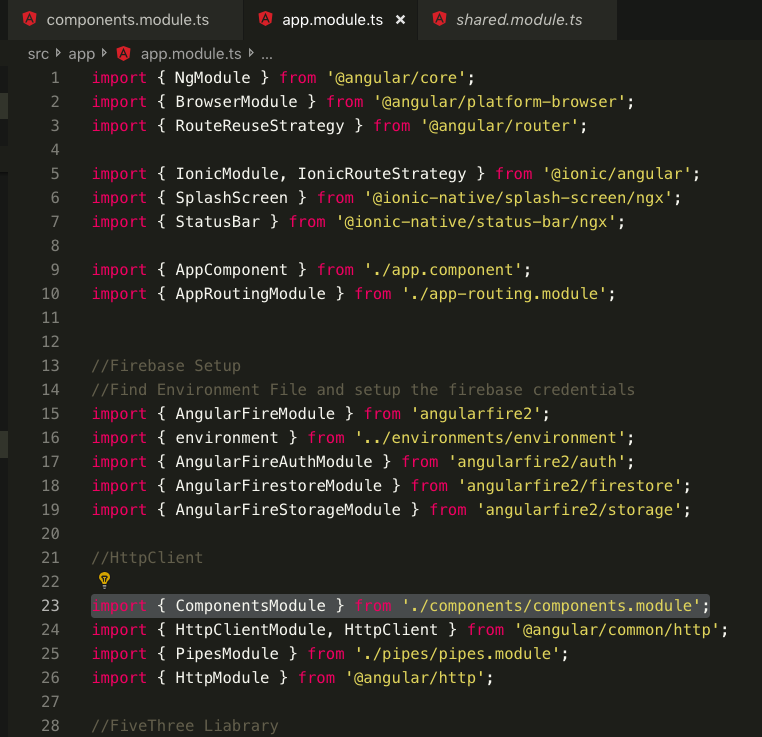
And You Have to Register your Component in components.module.ts file see the image and the components.module.ts must have to configure in your in app.module.ts as you can see in image
This Html File Contain Some dynamic Data which is comes from other page so remove {{}} codes and add your default static data.
Note : Don't forget to add scss code also.
Now Open gallery-layout1.scss and copy the code (Don't copy gallery-layout1 selector from scss file it's just wrapper) and paste it into your custom pages scss file.
Note : For Images copy respected Image from src/assets/imgs folder and paste it into your project assets folder
/* === gallery-layout1.html === */
RCAP DESIGNS